JH Technologies often receive questions from people asking us what we do and why we do it. We see many types of samples, questions, and requests from R&D to failure analysis.
To make it easier to understand, let’s relate what we do to something you are familiar with. Below is an image of a lug nut.

Lug nuts attach the wheels to your car. When a lug nut fails, it causes an accident. We want to figure out why this happened so we can fix the problem.
In this application note, we will show you some of the work we perform to figure out what went wrong. Although there are many extensive experiments to be performed, we will show only a few.
Measuring the Sample
Before we start a thorough analysis, we will measure the length and width of the sample. We will also check to make sure the pitch of the teeth of the threaded area is correct.
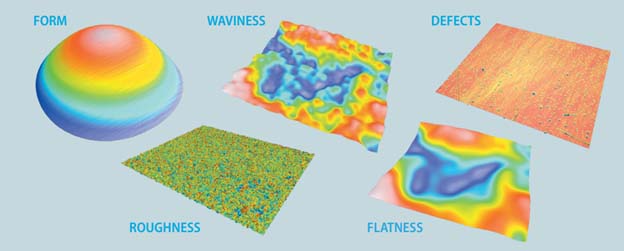
We can even test the surface roughness (smoothness) of the metal to see if the lug nut is causing too much or too little friction when installed.
Smoothness may not be an issue with a lug nut, but it would be on something that moves all the time, a bearing, for example. How smooth the metal is can dictate how fast it wears. Gases and liquids, when flowing, can be affected by the internal roughness of a tube through turbulence or friction. Even air flowing over a plane’s wing is affected by how the surface of the metal interacts with the wind. Below is a sample surface roughness report of this lug nut.

Metal Composition, Grain Structure, and Hardness
To look in more detail, we can inspect the metal composition, grain structure, and hardness. First, we cut the lug nut into smaller pieces that we can analyze allowing us to focus on specific areas of interest and makes sure it will fit in our machines. The image to the right is of the threads of the lug nut after they have been cut crosswise and lengthwise and mounted in an epoxy “puck” to make them easier to handle. This sample has also been polished so we can analyze it further.

Analyzing for Contamination
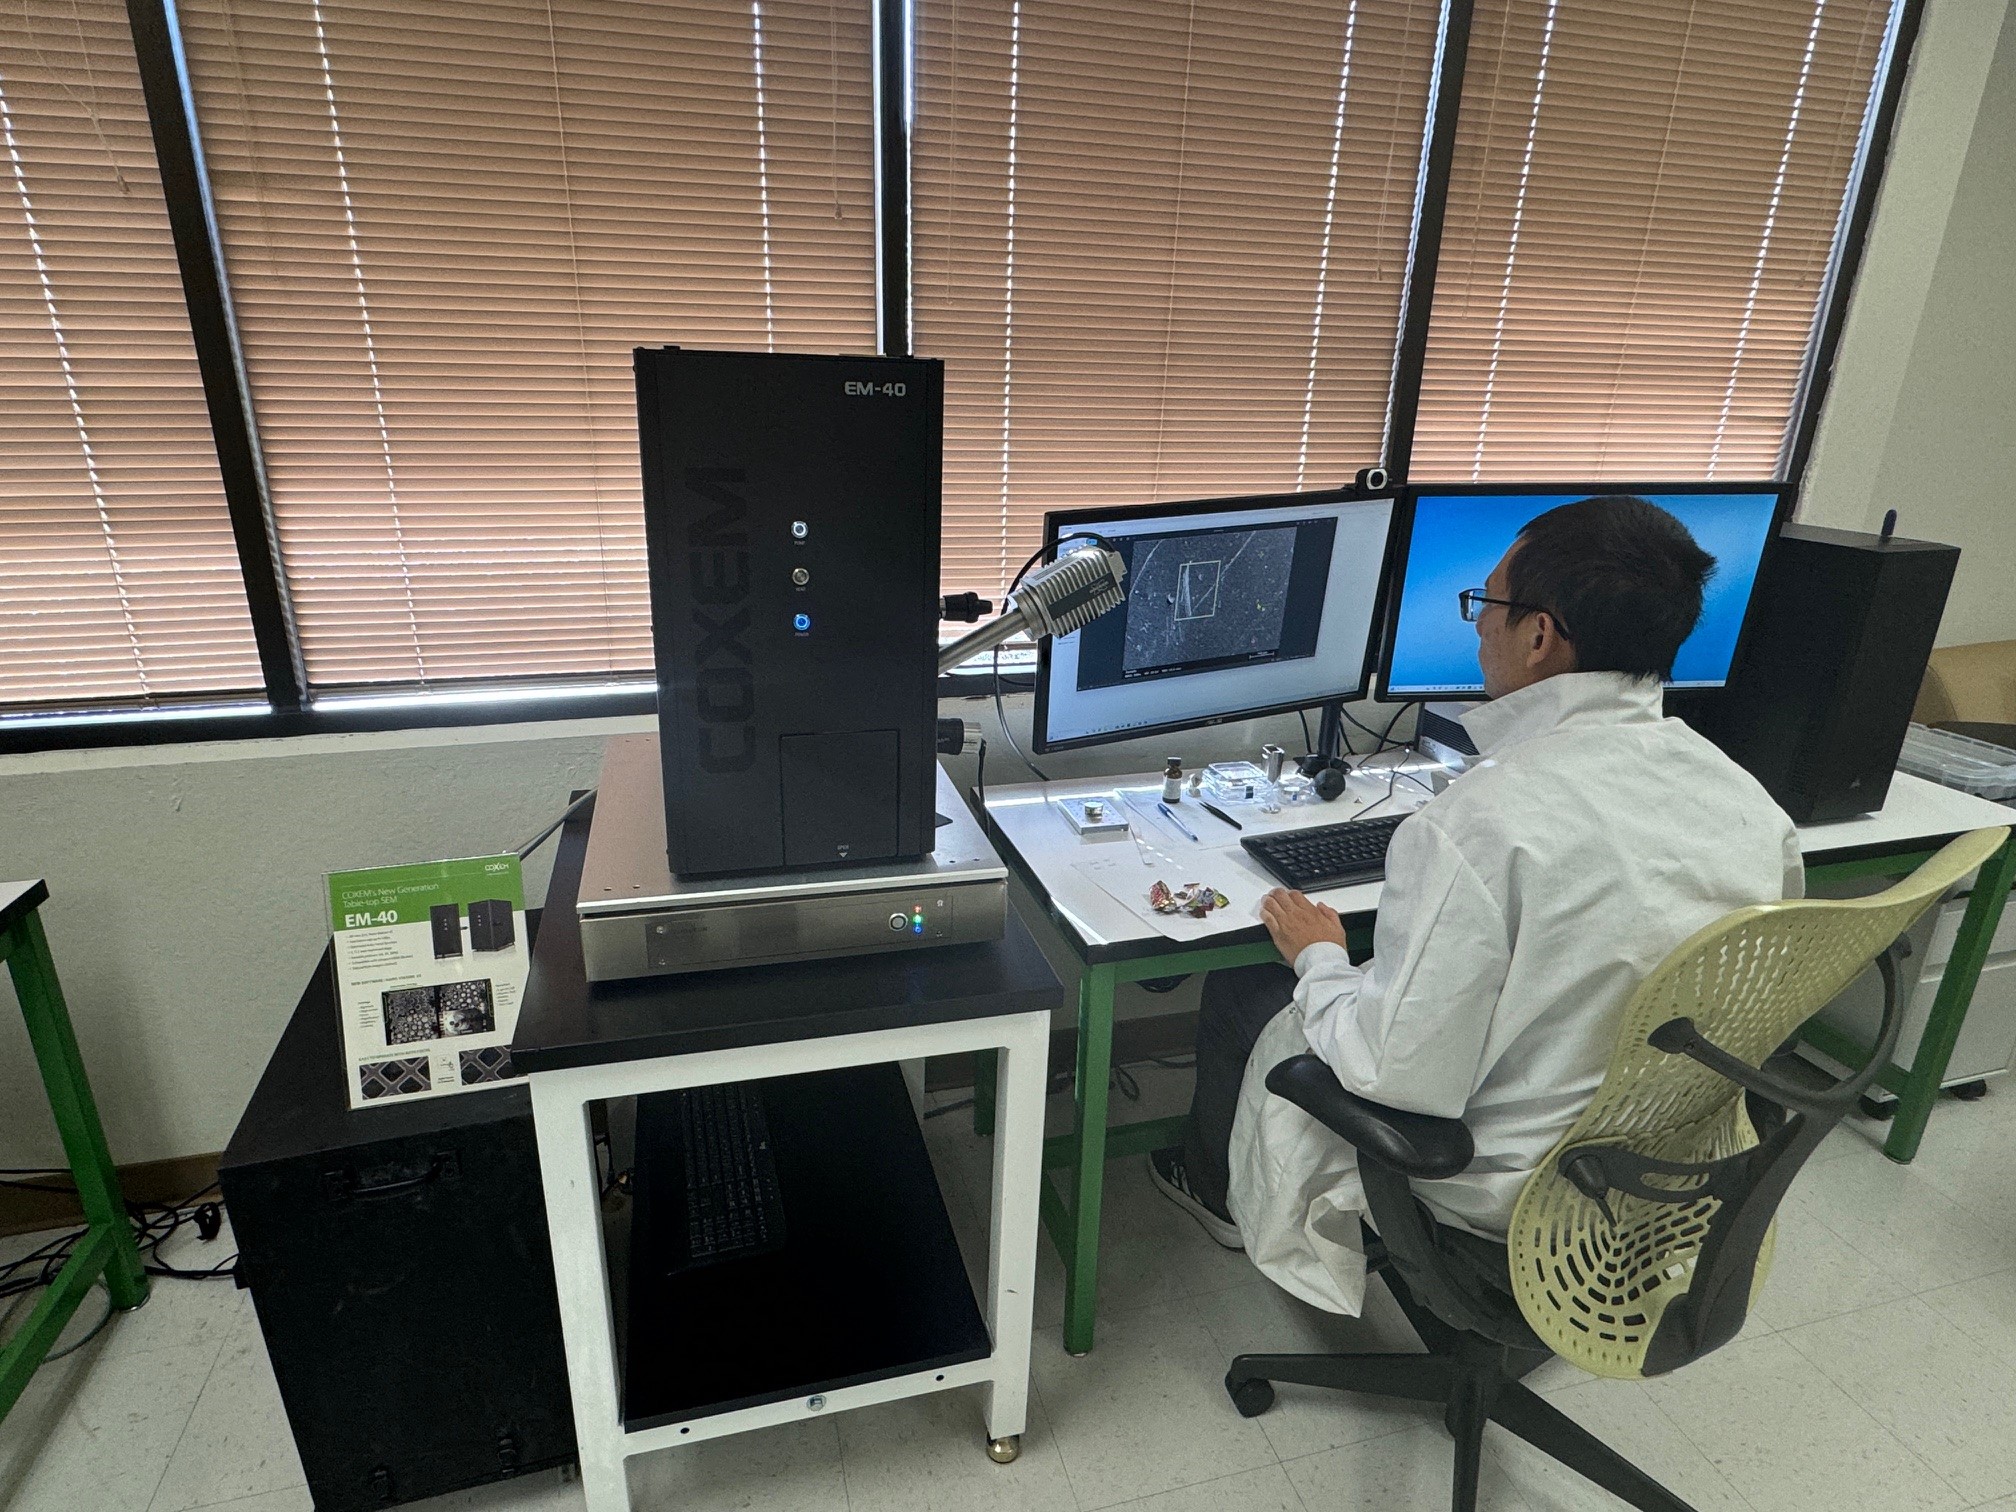
Although not directly related to a metal failure, we could analyze a sample for contamination using our SEM.
The white specs on the image below are organic materials. If these were embedded in the sample, they could be a cause for failure. Sitting on the sample, as seen before, they could damage delicate electronics if they got loose. You will also notice the end of the thread, the top, is not symmetrical, which shows wear and possible damage.

In the pictures below we have etched the samples to highlight the grain structure and metal composition.
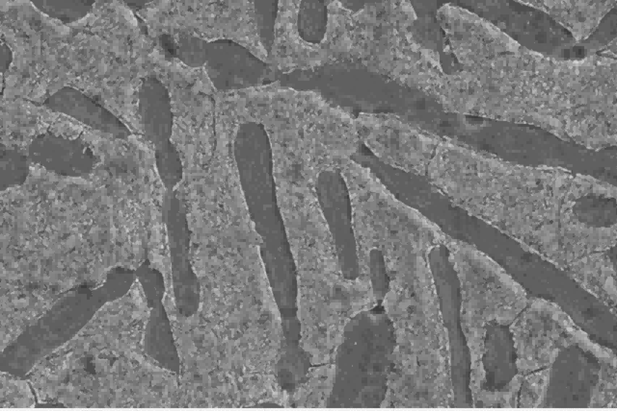
In the first image, there is damage to the tips of one of the threads, and there are elongated grains near the damaged area. The grain sizing changes from the outside edge of the thread to the inside “core.” The darker outside edge has been heat-treated to make it harder, stronger, and less susceptible to damage. We measured the perceived “harder” area where the grains are darker to see if they meet the specifications set forth by the maker.


Hardness Testing
We can also perform a hardness test across the sample to check if the heat treatment meets specifications for hardness and depth. The hardness of the outer area and how deep it is will dictate the durability and reliability of the part. Below is an image that shows a set of Vickers hardness indents. We also added a few measurements of areas we expect to be harder, as we see the difference in grain sizing. Below is an image of chart measurements showing the metal is harder towards the outside and gets softer the farther we indent into the core.


In addition to the methods above, using our SEM, we can perform elemental analysis to check if the metal alloy used in making the lug nut was of the correct composition.
In summary, simple things, like a lug nut, can be analyzed to check if it meets the criteria specified during design and manufacturing. In doing so, you check durability, safety, and if it performs correctly.


